Setting Up the Theme Using Customizer
Once the Kurama Theme is installed. You can start setting up the theme.
Before you set up the theme. Make sure that your site has some pages, posts, categories and featured images.
How to use Theme Customizer?
- To Configure your Kurama theme using Customizer log into your WordPress dashboard.
- Go to Appearance > Customize.
- Customize window of your Kurama theme will be loaded which will look like following:
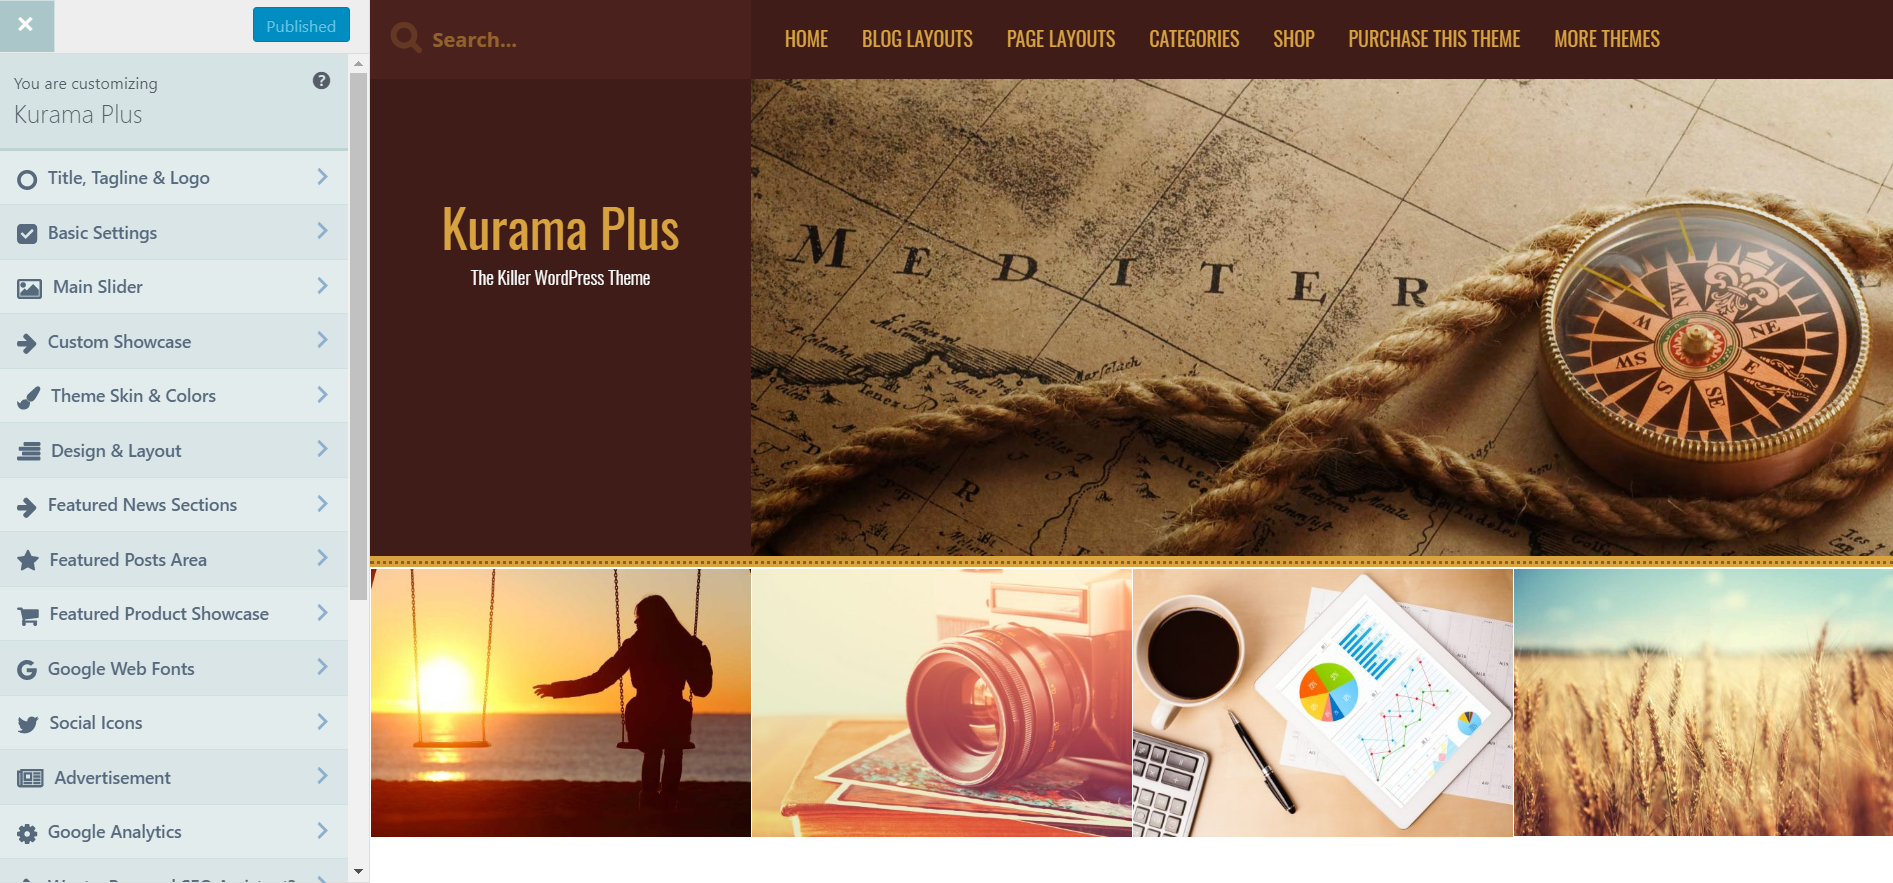
Title, Tagline & Logo
This section contains the Following Settings:
Logo: Here you can upload a Logo for your Website. Crop & Resize the logo perfectly on your computer before uploading it.
Site Title: By the using Site Title option you can insert a site title to your Kurama Theme.
Tagline: You can use Tagline option to insert a tagline for your website which can be a small description of your website.
Site Icon: You can use Site Icon to give an Icon to your website. Site Icon is shown in following image:

Header Design
This refers to Numerous settings which can be useful for you to set up the perfect header.
- Title, Tagline & Logo: It will let you upload a logo for your website in the header just before the header image. You can have Site Title & Tagline next to header image which will let you add your website title and tagline.
- Basic Settings: It will let you set a Heading for blog post area. also allows you to set menu name on mobile devices. It also contains setting to disable next and previous button on single post page.
- You can have 5 different Social Icon Styles in Premium version of Kurama theme in Header.

Featured Content Areas
How to use Featured Content Areas?
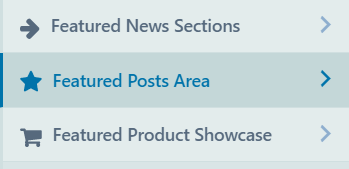
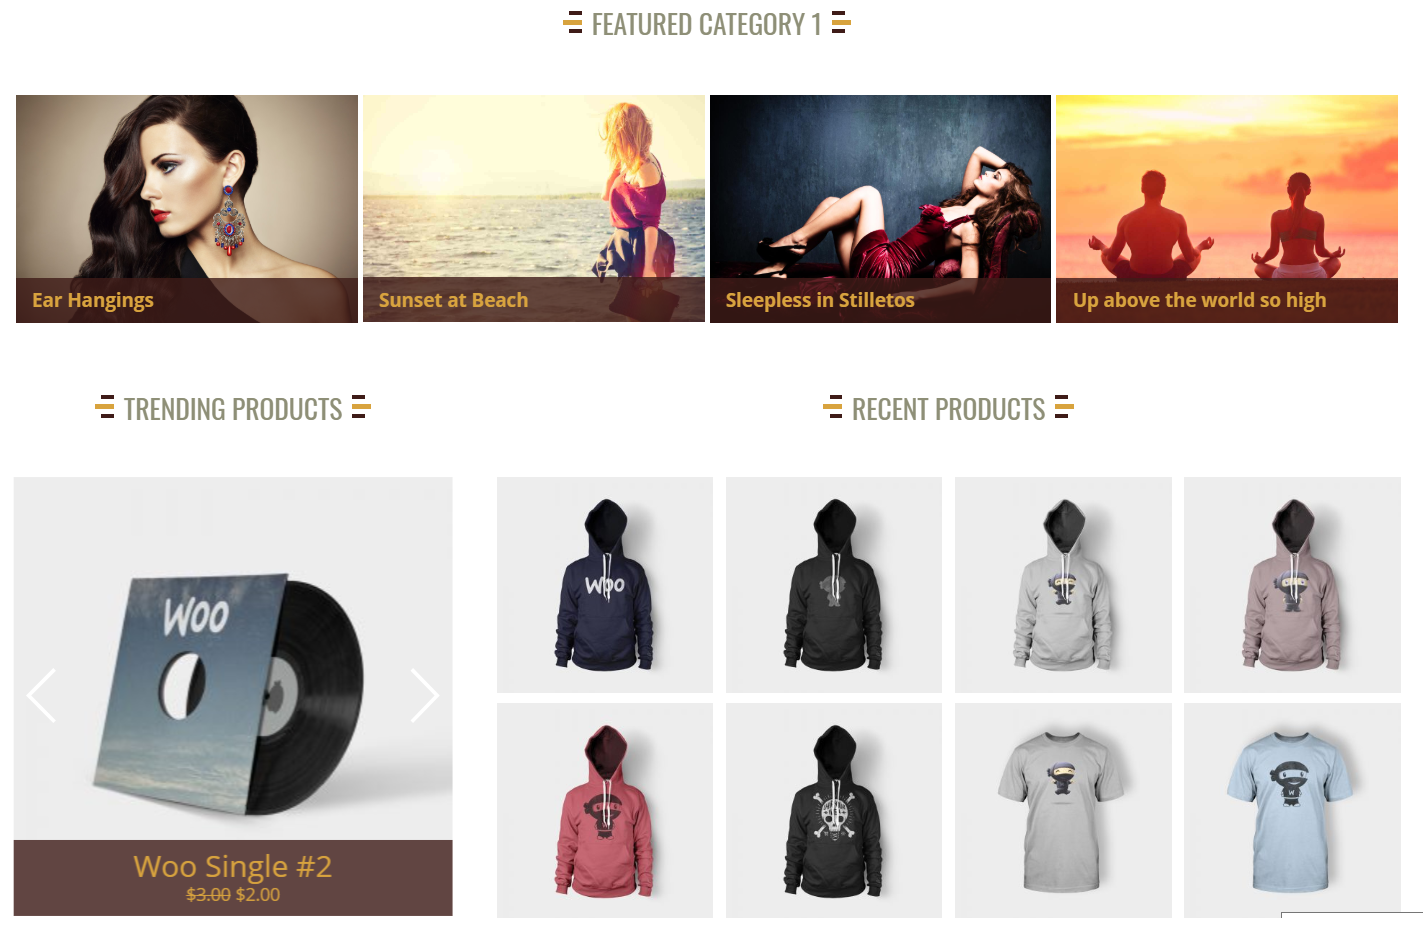
This theme has Many Featured Content Areas to display your Featured Posts. These Featured Posts can be set through a Category.
And for all of them to work, make sure you have sufficient posts in the selected categories, and you have defined Featured images for All of them.
It has also products showcase areas which allows you to show products while you are using Kurama Theme for WooCommerce purpose.
Working With Image Thumbnails
With this theme, you are likely to run into Issues with Images, if you are new to WordPress.
Setting Up Featured Images for Posts?
If you haven’t set any Image on your Homepage and you are seeing a Blank Dummy Image. That’s because you have not set any Featured Image Yet.
How to set Featured Image?
- To set a Featured Image, go to Edit Post and on the Edit page, at the bottom, you will see.

- Now click on Set featured image > Select An Image To Upload Or Choose From Already Existing Images.
- Next, Click onSet featured image button.
- Now an image will be set on your post. Click Update to make changes visible. Make sure that the Featured image you upload is large enough.
Min Width: 600px Min Height: 400px[ATTENTION: Smaller images will not resize properly.]
How to use Header Image?
- To set a Header Image, go to Appearance > Customize and on the Customize Page, on the left section(Pane) you will see “Header Image” option.

- Now click on Header Image > Add New Image > Now Upload Or Choose From Already Existing Images.
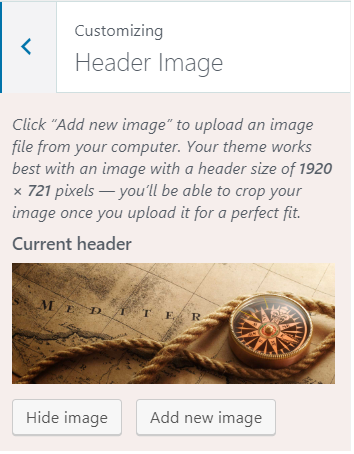
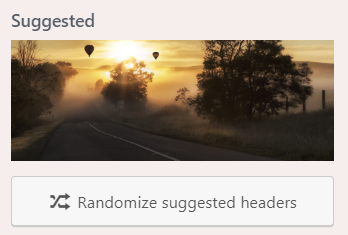
- Next, Click on Select and Crop button.
- Now Crop Image according to your image message or Skip Cropping your Header Image will be set on your website.
- Click Save & Publish to make changes visible.
Fix issues Related to Improper Image Sizes
All Images are Different in size. Why?
You won’t have this issue in your Kurama Theme. If you have recently come from a Different theme, your Images will all be of different sizes and will break the theme’s layout.
- To Forcefully Resize All Images and solve this issue, Install and Activate the Plugin named “Regenerate Thumbnails Plugin”.
- You can download this plugin from the following link:
https://wordpress.org/plugins/regenerate-thumbnails/
[ATTENTION: All the images uploaded while “Kurama Theme” is installed, will automatically be resized. You don’t have to worry about selecting the Correct Sized Images. Just make sure they are Large enough. No Fixed Size Recommended.]Custom Showacse
Premium version of Kurama theme has an option Custom Showcase this option lets you add custom images to your website which will stand as showcase on your website.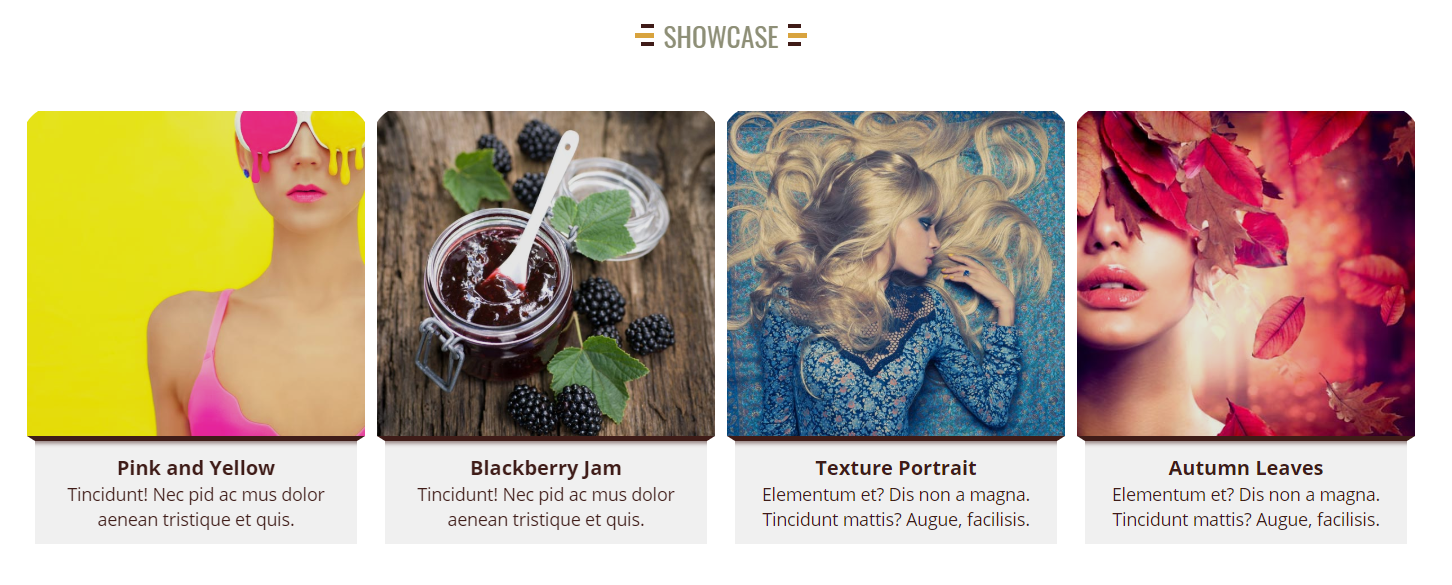
By default premium version of Kurama theme has 4 Showacse Items which allow you to add Images, Title, and Description that are as shown in above image.
To use this go to WordPress Dashboard > Custom Showcase > Enable/Disable > here click on Enable.
Now again go to WordPress Dashboard > Custom Showcase > and Upload Images and write Title & Description in Showcase Items.
Static Page vs Recent Posts
Kurama theme provides Static Front Page section which supports two types of Home Page Display:
![]()
- A Static Page
- Or Your Recent Posts
- A Static Page: It will set a Regular Page to your Website’s Home. This is useful if you are not planning on maintaining a Blog and using this theme on a Static Website.

- Your Latest Posts: It will show the Latest Post on your Website’s Home Page.
Kurama theme supports two Navigation Menus. The Important one is Primary Menu to Show in the Header.
How to Set up Navigation Menu?
- Go to Appearance > Customize > Menus.

- Now Create Menu you want to display on your website.

- After creating a New Menu you can Add Items to it as shown in the following image
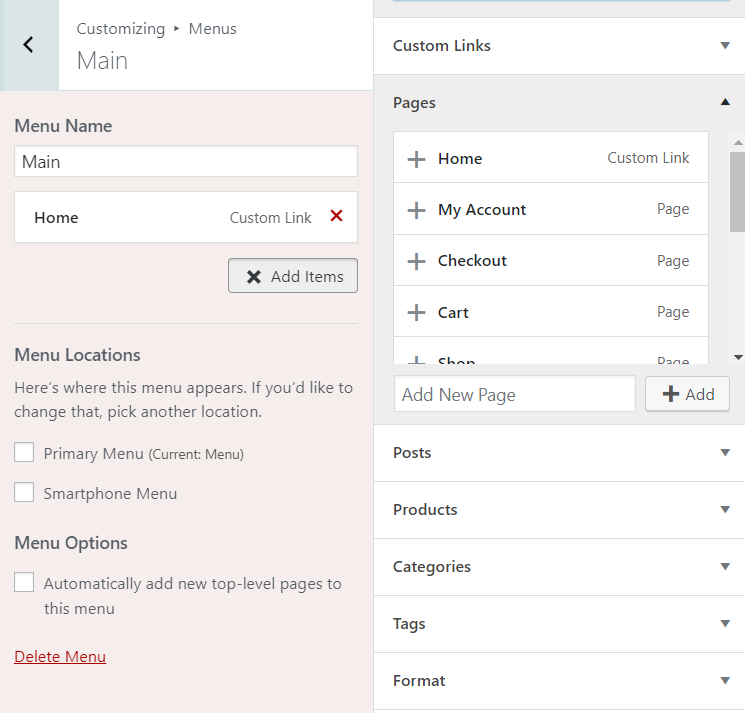
- You can Drag & Drop Added Items to make them Sub Menu Items.
Typography – Google Web Fonts
This theme supports a large number of Google Fonts which will automatically be placed at various locations on the theme depending on the context.

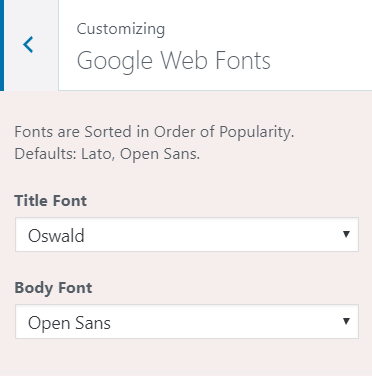
- You can navigate to Customizer > Google Web Fonts > here you will see the different locations to use Google Fonts.
- These font settings allow you to select the Font Style(Font Family).
Social Icons
Premium version of Kurama theme provides up to 24 Social Icons. And display up to 10 social icons in the header. You can also choose social icon styles form 5 Social Icon styles.


