Setting Up the Theme Using Customizer
Once the Adviso Theme is installed. You can start setting up the theme.
Before you set up the theme. Make sure that your site has some pages, posts, categories and featured images.
How to use Theme Customizer?
- To Configure your Adviso theme using Customizer log into your WordPress dashboard.
- Go to Appearance > Customize.
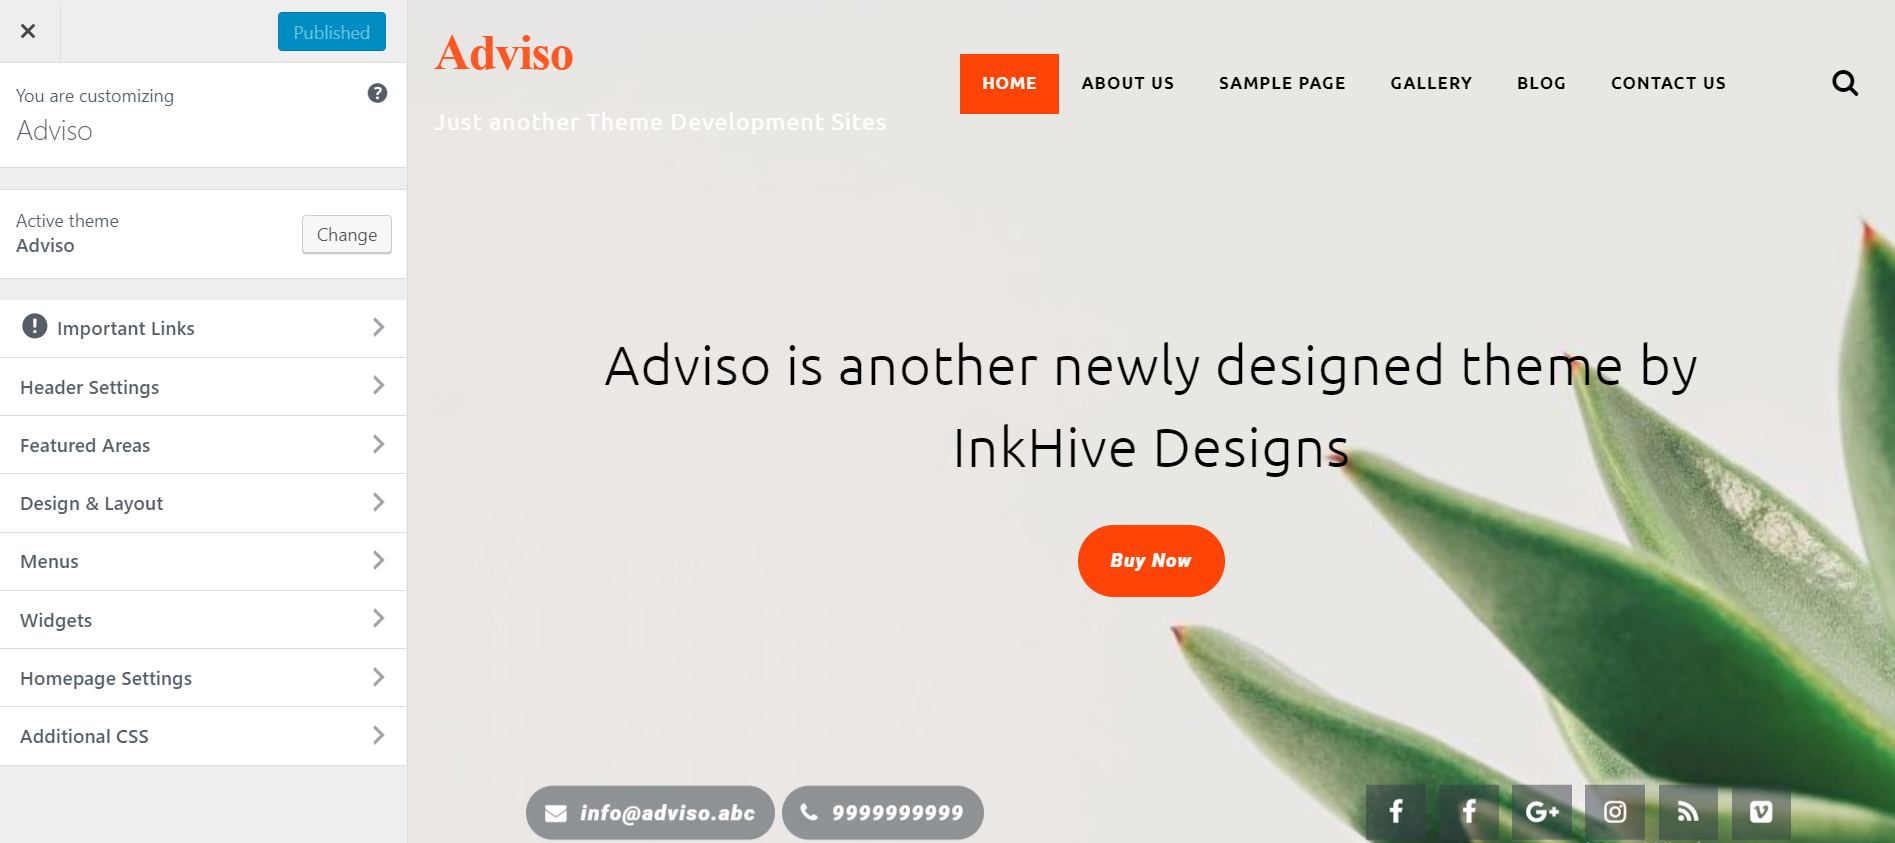
- Customize window of your Adviso theme will be loaded which will look like following:
Title, Tagline & Logo
This section contains the Following Settings:
Logo: Here you can upload a Logo for your Website. Crop & Resize the logo perfectly on your computer before uploading it.
Site Title: By the using Site Title option you can insert a site title to your Adviso Theme.
Tagline: You can use Tagline option to insert a tagline for your website which can be a small description of your website.
Site Icon: You can use Site Icon to give an Icon to your website. Site Icon is shown in following image:

Header Settings
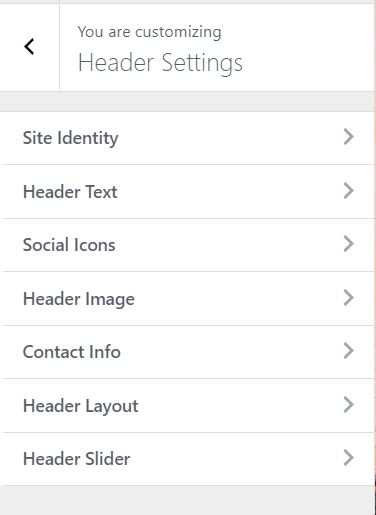
This Contains Numerous settings which can be useful for you to set up the perfect header.
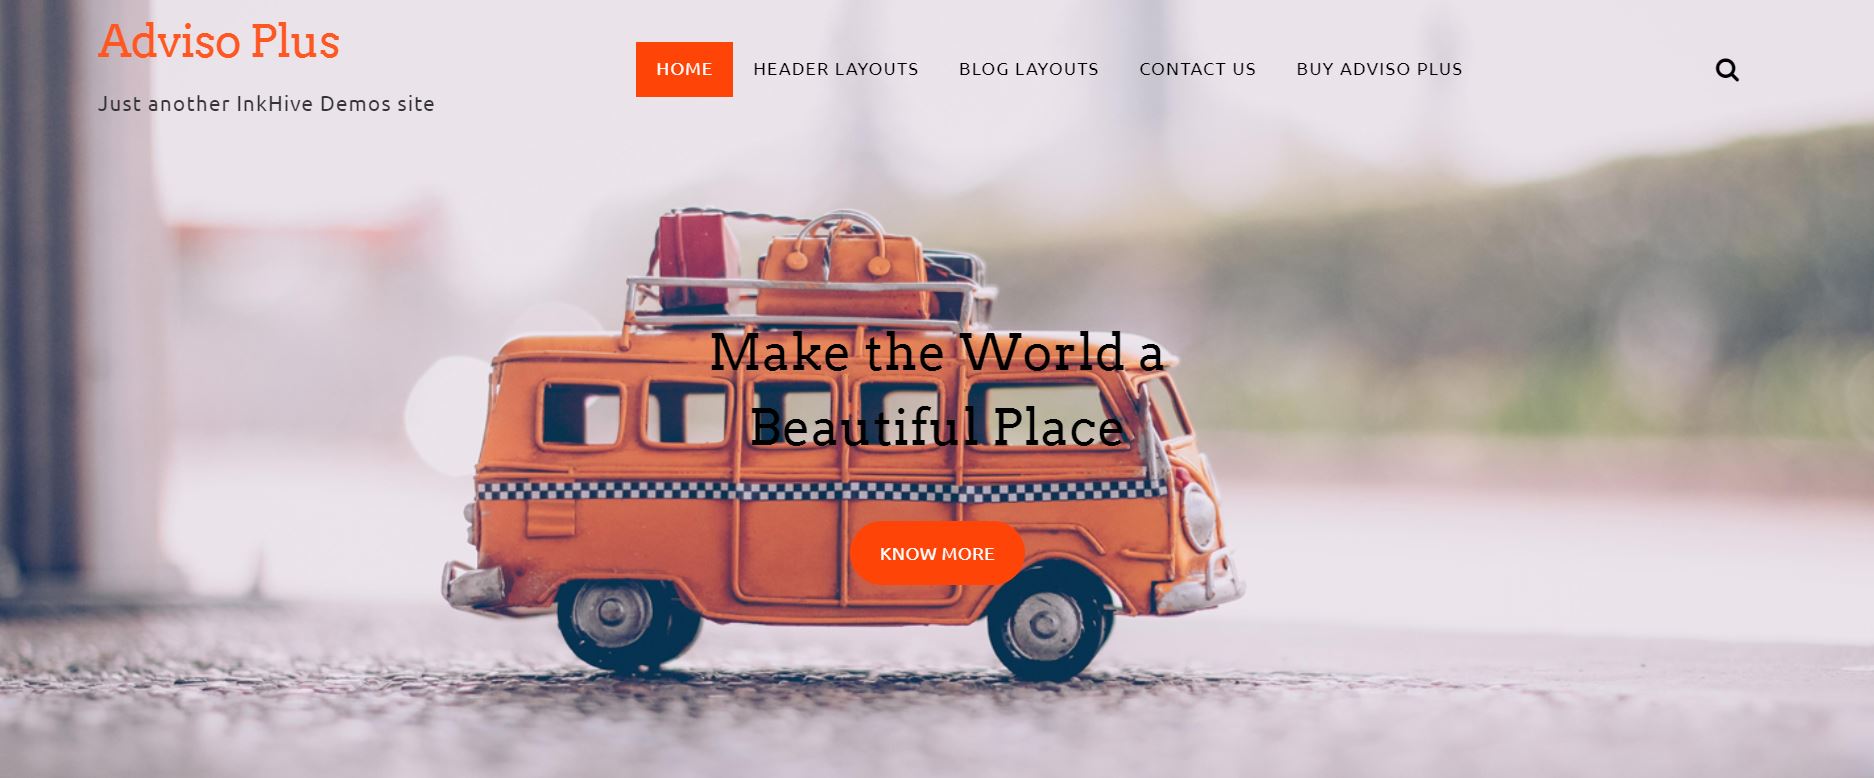
- You can have 5 different Header Styles in Premium version of Adviso theme.
- You can have Header Text & Contact Info in the header which will let you add some informational text in the header image.
- Also there is Header Slider feature in Premium version of Adviso theme, we will discuss about it later in the documentation.
Featured Content Areas
How to use Featured Content Areas?
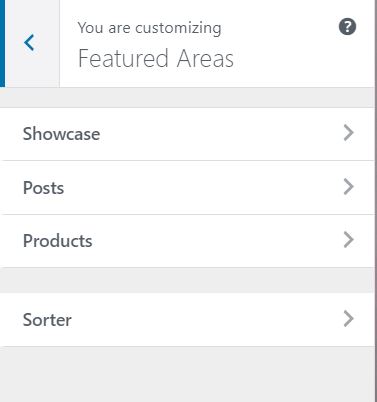
This theme has Many Featured Content Areas to display your Featured Posts. These Featured Posts can be set through a Category.
And for all of them to work, make sure you have sufficient posts in the selected categories, and you have defined Featured images for All of them.

Working With Image Thumbnails
With this theme, you are likely to run into Issues with Images, if you are new to WordPress.
Setting Up Featured Images for Posts?
If you haven’t set any Image on your Homepage and you are seeing a Blank Dummy Image. That’s because you have not set any Featured Image Yet.
How to set Featured Image?
- To set a Featured Image, go to Edit Post and on the Edit page, at the bottom, you will see.

- Now click on Set featured image > Select An Image To Upload Or Choose From Already Existing Images.
- Next, Click onSet featured image button.
- Now an image will be set on your post. Click Update to make changes visible. Make sure that the Featured image you upload is large enough.
Min Width: 600px Min Height: 400px[ATTENTION: Smaller images will not resize properly.]
How to use Header Image?
- To set a Header Image, go to Appearance > Customize and on the Customize Page, on the left section(Pane) you will see “Header Settings” option.

- Now click on Header Image > Add New Image > Now Upload Or Choose From Already Existing Images.
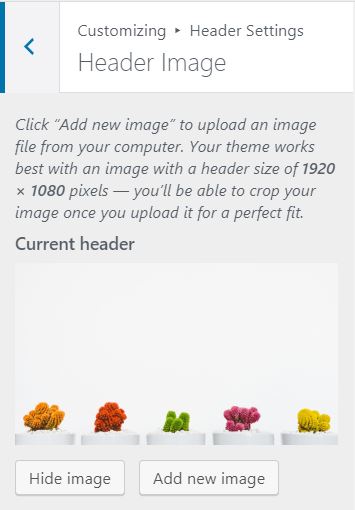
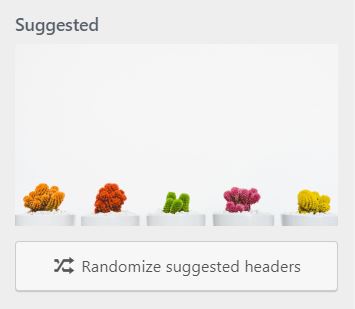
- Next, Click on Select and Crop button.
- Now Crop Image according to your image message or Skip Cropping your Header Image will be set on your website.
- Click Save & Publish to make changes visible.
Header Slider
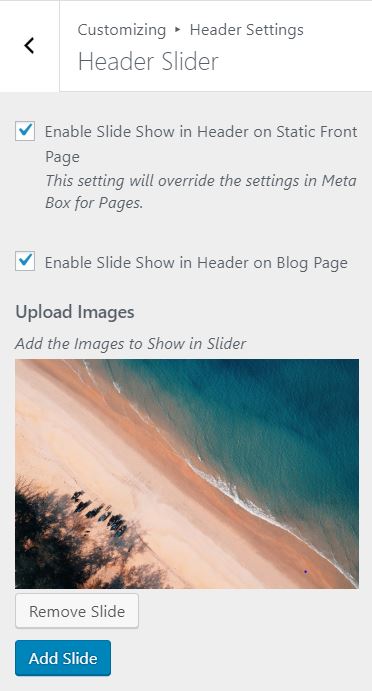
As we have told you the premium version of Adviso theme has Header Slider feature, this feature lets you add a slider of images in the header. You can select one at a time either it is Header Image or Header Slider.
So if you want to enable slide show on in your theme’s header you need to do the following settings.
Go to Header Settings > Header Slider > here simply check on Enable and then Add the Slides you want.
 Fix issues Related to Improper Image Sizes
All Images are Different in size. Why?
You won’t have this issue in your Adviso Theme. If you have recently come from a Different theme, your Images will all be of different sizes and will break the theme’s layout.
- To Forcefully Resize All Images and solve this issue, Install and Activate the Plugin named “Regenerate Thumbnails Plugin”.
- You can download this plugin from the following link:
https://wordpress.org/plugins/regenerate-thumbnails/
[ATTENTION: All the images uploaded while “Adviso Theme” is installed, will automatically be resized. You don’t have to worry about selecting the Correct Sized Images. Just make sure they are Large enough. No Fixed Size Recommended.]Custom Pages
Premium version of Adviso theme has an option Custom Pages this option lets you add custom pages to your website such as About Us Page, Contact Us Page, Gallery Page etc.
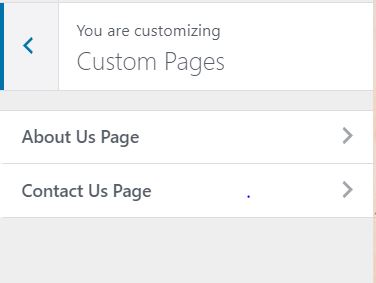
By default premium version of Adviso theme has 2 Custom Pages that are as shown as follows. To use these pages you need create a new page and then set page template as the respected page you want to create.
To do this go to WordPress Dashboard > Pages > Add New > enter the Title and Page content > select page template as About Us Page/ Contact Us Page from the right side pane.
- About Us Page
- Contact Us Page
- About Us Page: It will let you display various data related to about us page, for example, social links, about information etc.
- Contact Us Page: This page allows you to insert a contact form using a shortcode on the page it also lets you enter contact us information like address, email, mobile, paragraph etc. The main feature of contact us page is, that it lets you insert your embedded map in the footer of the page. So anyone can find your location easily.
Static Page vs Recent Posts
Adviso theme provides Static Front Page section which supports two types of Home Page Display:
![]()
- A Static Page
- Or Your Recent Posts
- A Static Page: It will set a Regular Page to your Website’s Home. This is useful if you are not planning on maintaining a Blog and using this theme on a Static Website.

- Your Latest Posts: It will show the Latest Post on your Website’s Home Page.
Adviso theme supports two Navigation Menus. The Important one is Primary Menu to Show in the Header.
How to Set up Navigation Menu?
- Go to Appearance > Customize > Menus.

- Now Create Menu you want to display on your website.

- After creating a New Menu you can Add Items to it as shown in the following image
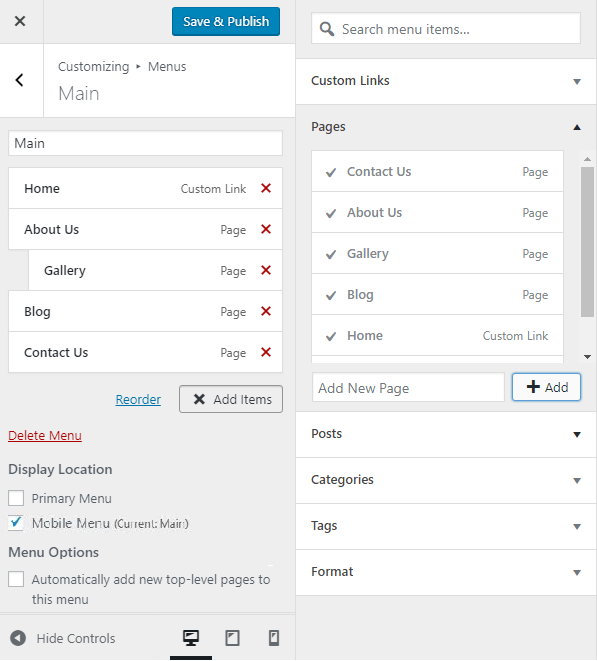
- You can Drag & Drop Added Items to make them Sub Menu Items.
Typography – Google Web Fonts
This theme supports a large number of Google Fonts. You can choose from 8 Fonts which will automatically be placed at various locations on the theme depending on the context.
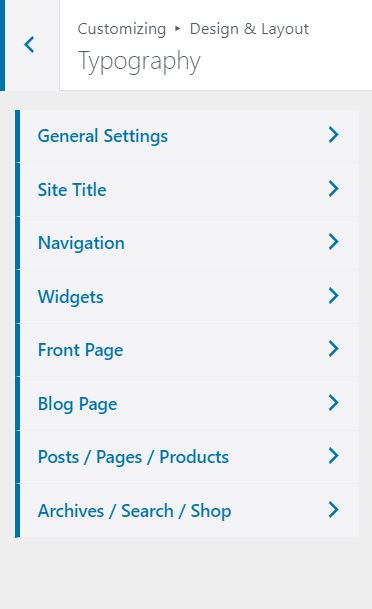
- You can navigate to Customizer > Design & Layout > Typography > here you will see the different locations to use Google Fonts.
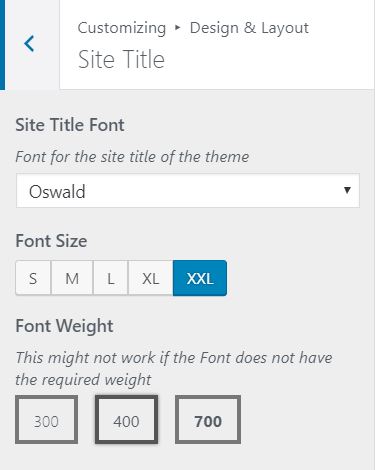
- These font settings allow you to select the Font Style(Font Family), Font Size & Font Weight.
Social Icons
You can also Choose Up to 30 Social Icons.


